|
Travel Scope is designed to do one thing simply
and well, so everything you need to use the app
effectively is right at your fingertips. The
list of forecasts is in the table filling the
screen. You access the standard iOS calendar
chooser with the folder icon at the top left,
and the app settings with the gear icon at the
top right.
The few settings that control Travel Scope
behavior are controlled with this screen
accessed by tapping the gear at the upper right
of the main window:

The available controls include one slider:
|
Precipitation Threshold
|
Move the slider to set the threshold
precipitation depth above which Travel
Scope will advise you of the event in
the forecast report. Set the threshold
to just above zero at the far left, and
0.1 inches at the far right.
|
and three switches:
|
City Replaces Event Title
|
Normally, Travel Scope will display the
same event title as you entered when you
created the event. If you turn on this
switch, Travel Scope will show the city
in which the event occurs instead of the
title.
The city name that’s displayed is the
one Apple’s map services associate with
the geographical coordinate defining the
event’s location.
|
|
Insert Default
Events
|
The basic operation
of Travel Scope is to display a forecast
for every event it finds within the
horizon of the keyed weather provider
which has an associated location (more
specifically, has latitude / longitude
coordinates).
If you turn this
switch on, Travel Scope will create a
default event for every day in the
provider’s span during which it finds no
event having a set location. When it
does so, it uses your current location
as the center of the forecasted region.
The first time you
turn on Insert Default Events you’ll be
asked to give Travel Scope permission to
access your location while the app is
active, which is required for default
events to work. Your location is sent to
the weather data provider you've chosen,
but nowhere else.
|
|
Write Forecasts to
Events
|
If you turn this switch on, Travel
Scope will maintain a line of the form
Travel Scope: <hi / lo>
in the notes field of the associated
event, updating it each time the
forecast changes.
|
|
Diagnose Event
Addresses
|
Events in your calendar need to have
associated locations that resolve to a
geographic latitude / longitude
coordinate. You can confirm an event has
a coordinate by looking in your calendar
- if there's a map shown for the event,
the coordinate is there.
Because some events may have locations
set that are not resolved to a
coordinate ( Tripit
does this), Travel Scope helps you in
two ways:
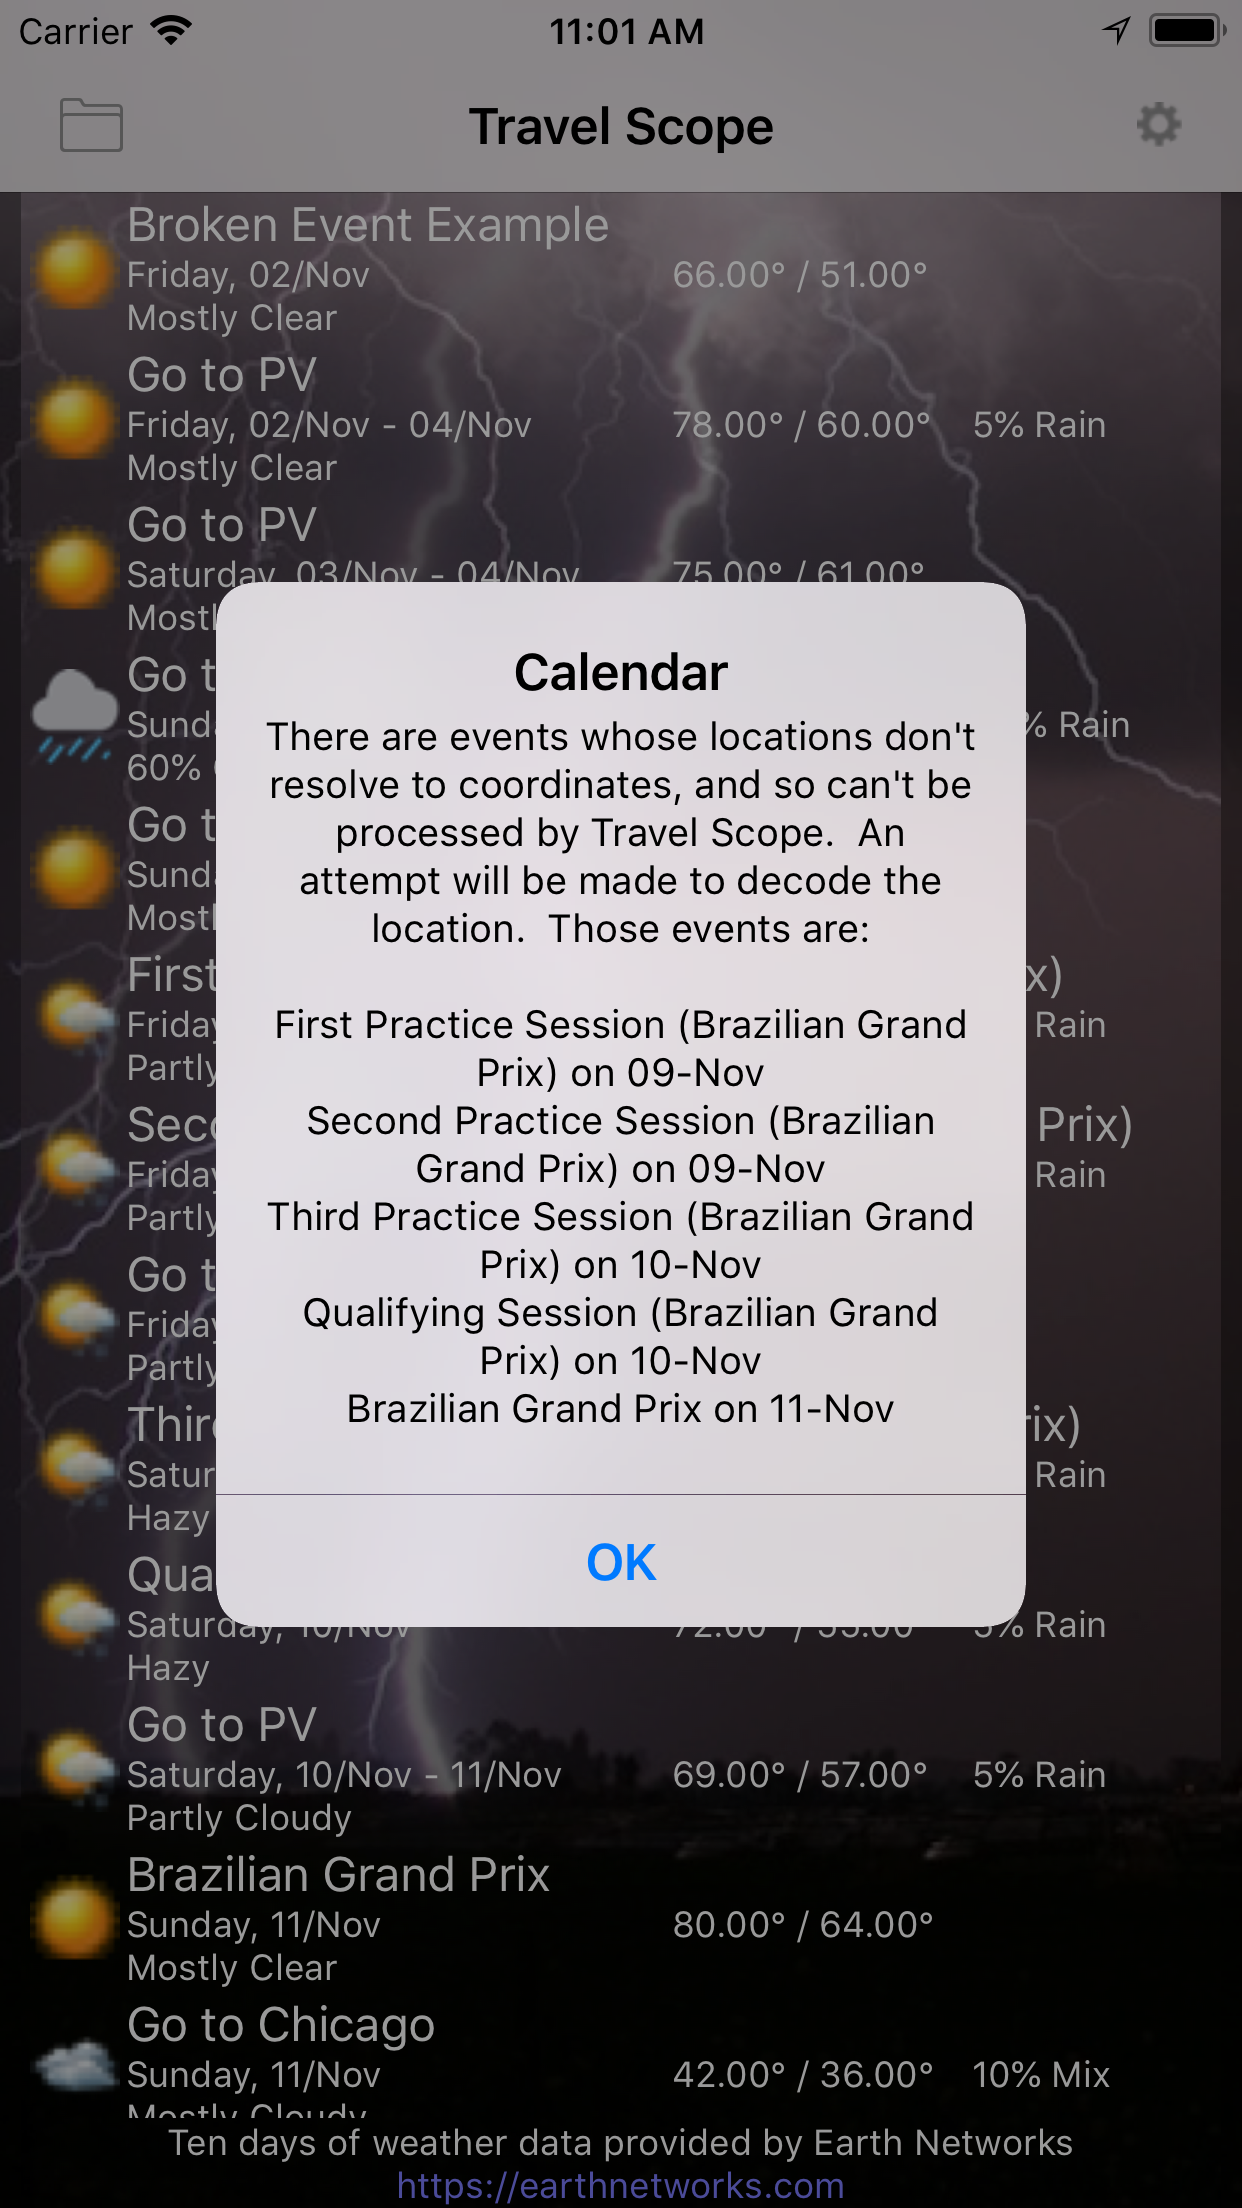
- When Travel Scope detects events
with a location but no coordinate,
turning on the Diagnose Event
Addresses switch causes a warning
dialog to be displayed giving you
the title for each of those events.
- Travel Scope tries on its own to
decode any event with a location but
no coordinate in order to derive a
coordinate. The decoding happens
behind the scenes, but when it's in
process you might see the display
briefly showing a shorter list
without the incomplete events. The
display refreshes to add the decoded
event when the process completes.
|
A few other points.
Although the Settings
display you see when you tap the gear icon looks
like that in Apple’s Settings application, it’s
still part of Travel Scope. If you tap the
button titled “Privacy / Open in ‘Settings’
app”, you’ll shift over to the actual Settings
application, where controls on Travel Scope’s
ability to access your location, calendars,
Siri, and Cellular Data are available. Keep in
mind that Travel Scope requires calendar access
to operate, and requires location access if you
want it to show default events.
If you want to contact
Barry, you can use the “Contact Developer”
button and send an email directly to him.
Reviews on the App Store are good too, and will
get read, but if you want to communicate
anything not really appropriate for the App
Store, this will do it.
|
|